While file sharing can be helpful when collaborating with others, keeping it enabled on your PC also allows your files to be accessed by hackers. They access your Users folder remotely to gain access to all the secure files on your PC and your documents.
Unfortunately, on most Windows computers, file sharing is the default setting. In this article, we provide detailed information on how to prevent file sharing on your PC and other precautions that should be taken while sharing data.
How to Stop File Sharing on Windows?
Use the fsmgmt.msc Command to prevent file sharing
The fsmgmt.msc command is a built-in command that lets you see which files are public. You can use this command to remove public folders to prevent file sharing and manage public folder settings. The benefit of this solution is that you can determine what folders are public and adjust the settings of public folders as needed. Use the following steps to prevent file sharing using the fsmgmt.msc command:
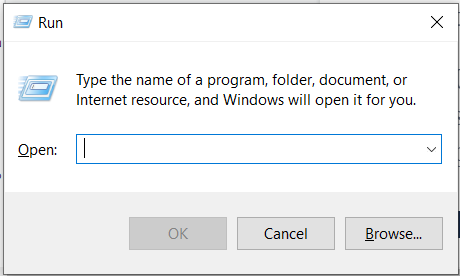
- Press the Windows and the R key — WIN + R — simultaneously to open the run menu.
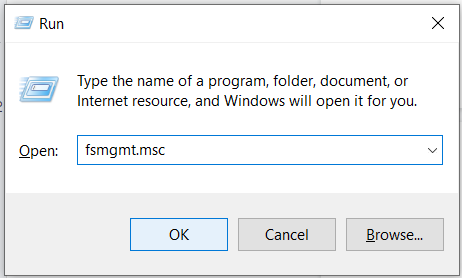
- In the dialogue box that opens, type “fsmgmt.msc” and click the OK button.
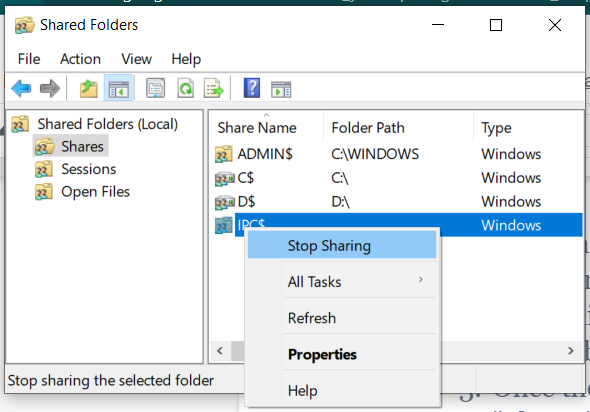
- Once the Shared Folders window has popped up, select “Shares” on the left-hand side of the window. This will allow you to see what folders are currently being shared publicly. To stop sharing, right-click on the folder and select the “Stop Sharing” button in the menu.
Use File Explorer to disable files sharing
File Explorer is a built-in tool that allows you to view, modify and rename folders and files. You can use the tool to change the properties of a file or folder, including revoking public access. This tool can be helpful if you wish to disable file sharing of numerous folders or files all at once.
To use File Explorer to stop file sharing:
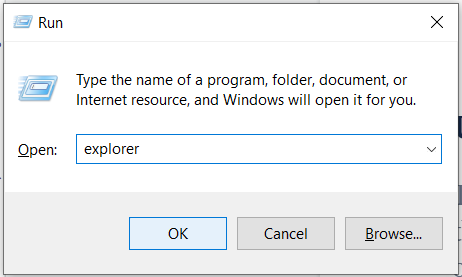
- Press WIN + R to open up a dialogue box. Type the command “explorer” and click the okay button or press enter to open File Explorer.
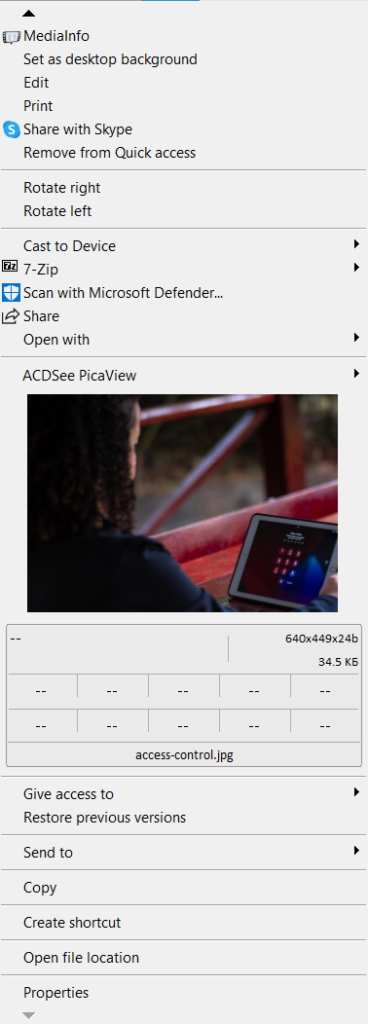
- In File Explorer, locate the file you wish to revoke public access to. Right-click the file name and then select “Properties.” A property box for the file will pop up.
- In the Properties box, navigate to the “Security” tab. Next, click the “Edit” button.
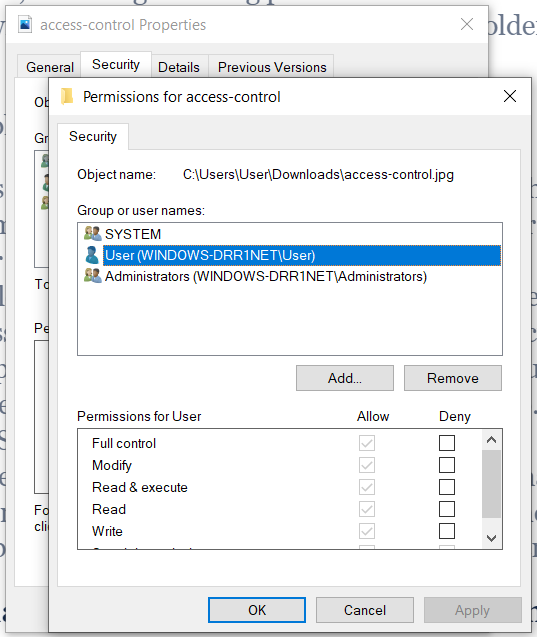
- In the “Access-control Properties” box, adjust accesses.
Use Command Screen to disable file sharing
The Command Screen is a program that allows a user to interface with the Windows operating system and execute commands. This method of disabling file sharing is usually the fastest, requiring only a few steps. It can also be helpful if you are having trouble disabling file sharing using the Fsmgmt.Msc command or File Explorer. Here are the steps when using the command line to disable file sharing:
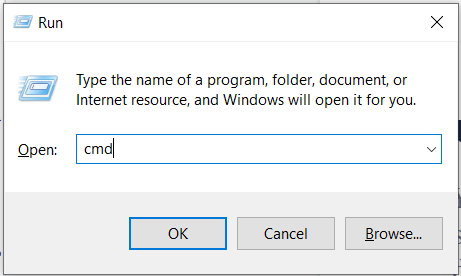
- Open the command line software. To do this, press WIN+R to open up a dialogue box.
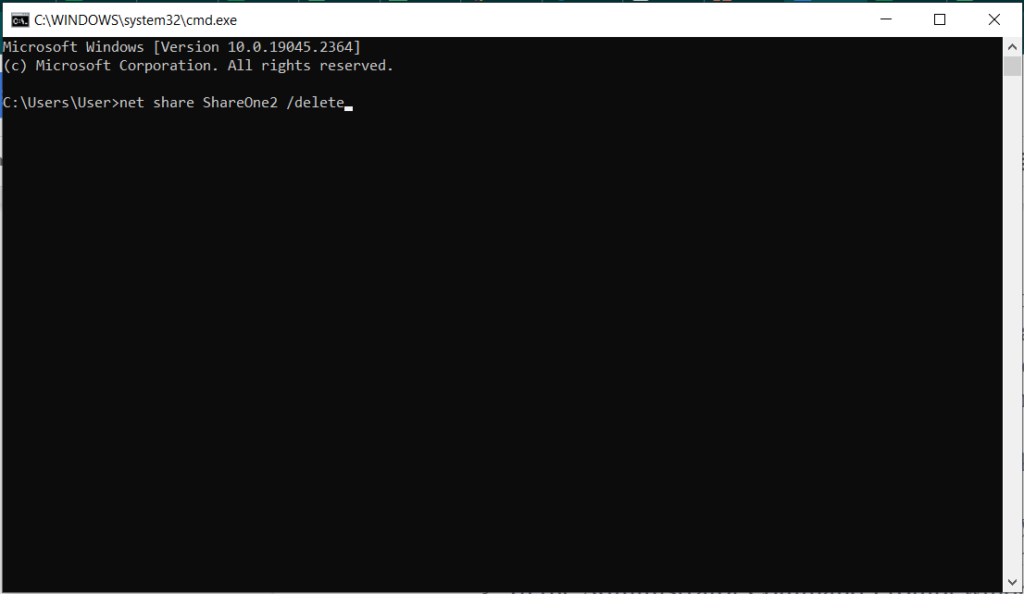
- Next, type “cmd,” press Enter, or click the okay button. This will open up an Administrator Command Prompt window.
- In the Administrator Command Prompt window, type “net share ShareOne2 /delete” and press enter. This command will delete the public version of the ShareOne2 folder while keeping the private version of the ShareOne2 folder available to you to access your files on your Windows PC.
Use the Control Panel to disable file sharing
You can also use your computer program’s Control Panel to disable file sharing on the network. Although this option contains more steps, it does not require you to input any written commands. This option allows you to disable both file and printer sharing at once. To use the Control Panel to disable file sharing:
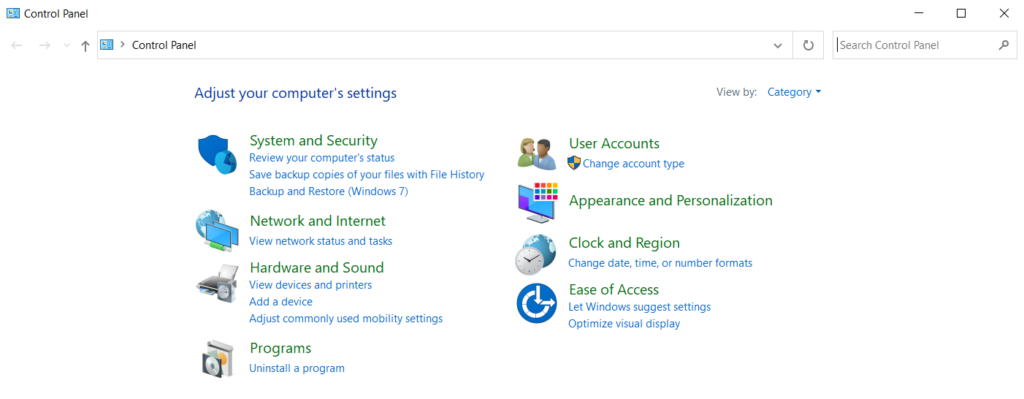
- Click the Start button in the lower left-hand corner of your taskbar, and search for Control Panel.
- Once you have opened the Control Panel, click on Network and Internet.
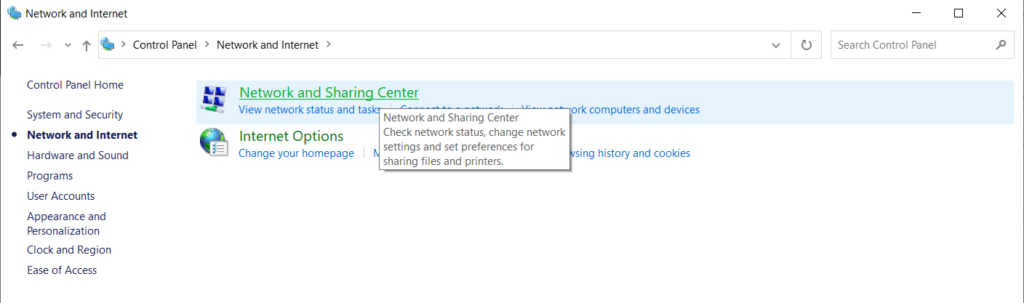
- In the Network and Internet section of the Control Panel, select Network and Sharing Center.
- Navigate to Change advanced sharing settings, which should be located on the left-hand side of the Network and Sharing Center panel.
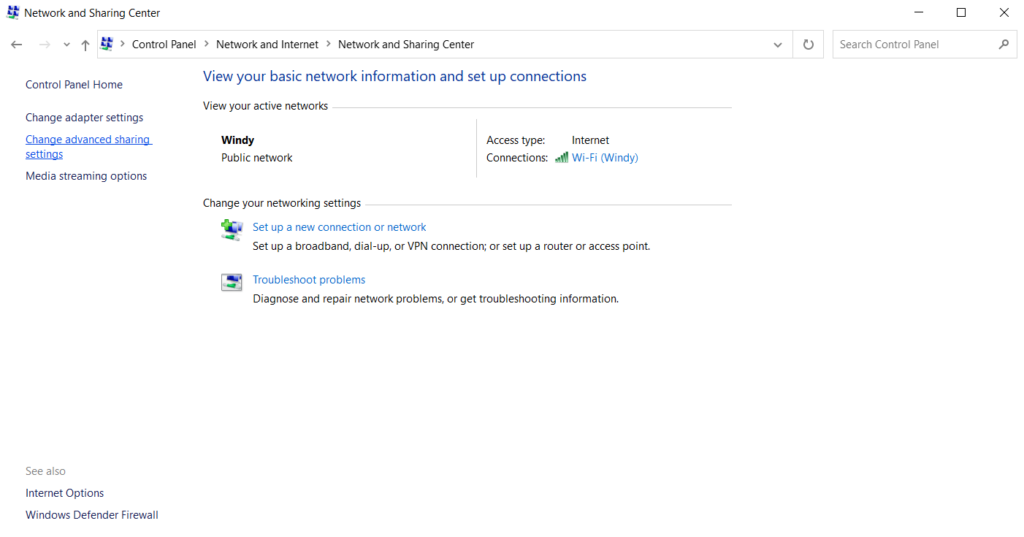
- In the Advanced Sharing Settings, click the arrow next to your current profile to expand the menu. Your current profile may be private when you are on your home network. If it’s showing “guest” or “public,” you are connected to networks in public locations. You can also expand the menu next to All Networks to turn off file and printer sharing for both private and public connections. In the expanded menu, select Turn off file and printer sharing.
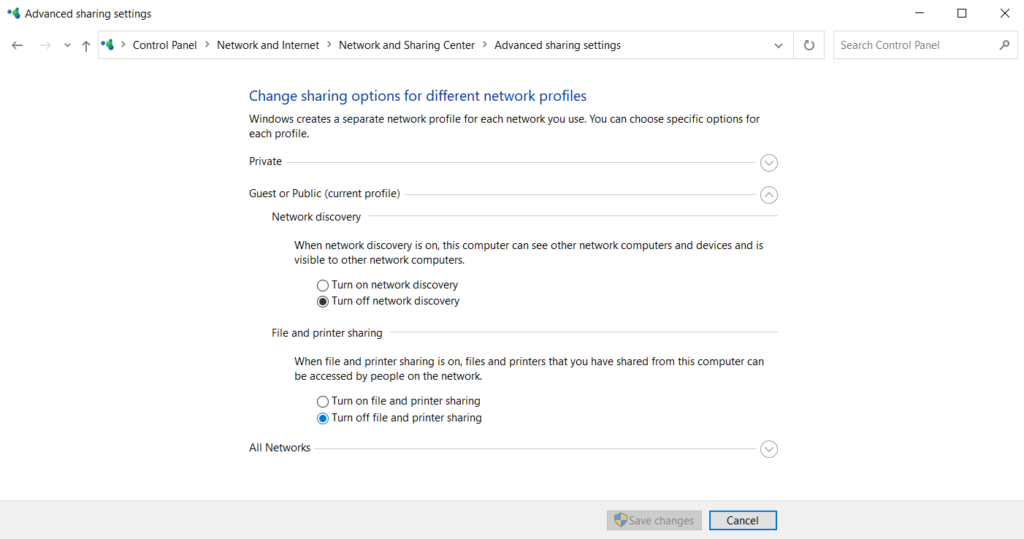
- Click Save Changes at the bottom of the Advanced Sharing Settings window to disable file and print sharing.
Use a free solution such as SecureDocSharing to share files securely
While disabling file sharing on your PC is important for keeping your PC secure, you can continue to share files securely using a free solution such as SecureDocSharing. SecureDocSharing allows you to share files securely with recipients inside or outside your organization through encryption.
Using SecureDocSharing allows you to customize how a recipient receives your file, and change sharing settings to suit your needs, including adding password protection, allowing downloads, or setting file expiry dates.
To use SecureDocSharing to share your files securely:
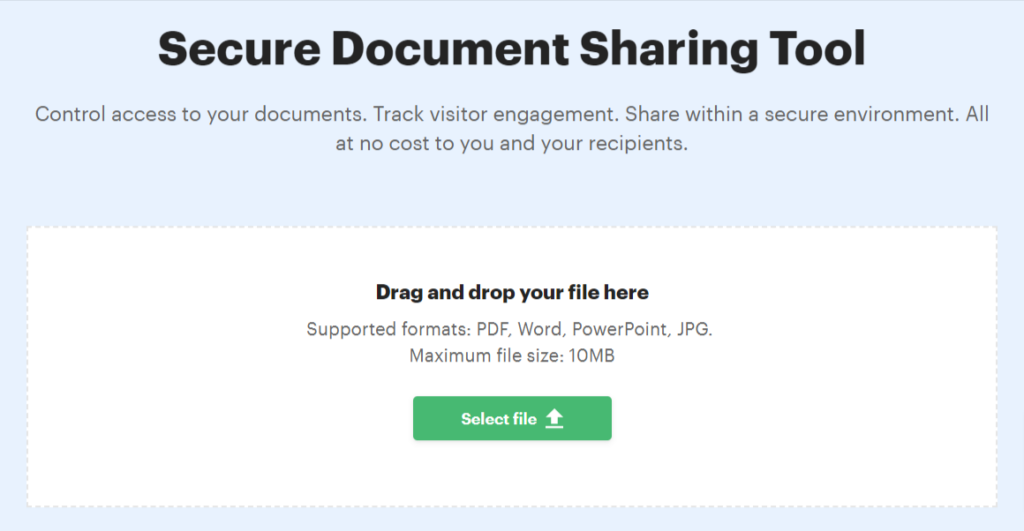
- In your web browser, navigate to SecureDocSharing.com. Once there, drag and drop the file you wish to share into the box or select the Upload File button to choose the file from your PC. You can upload PDF, JPG, PNG, Microsoft Word, and PowerPoint files up to 10MB.
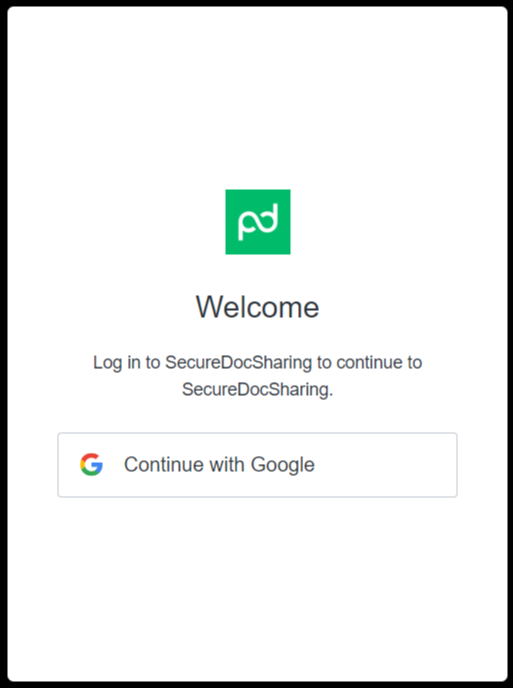
- Once your chosen file has been uploaded, you will be prompted to log in to your Google account. Select the Google account you wish to use and log in.
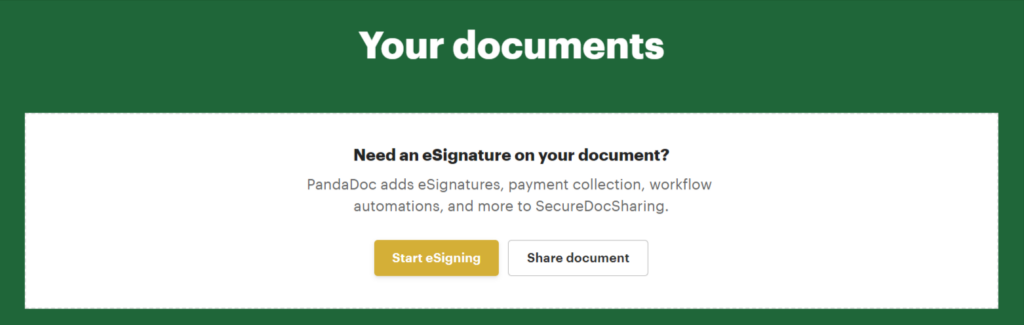
- If you wish to include an eSignature with your shared file, select Start eSigning. Otherwise, click Share Document.
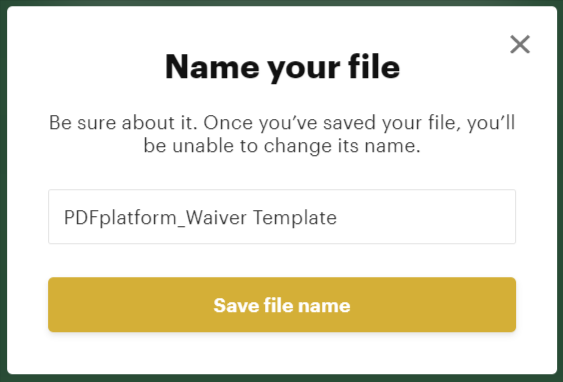
- In the dialogue box that pops up, give the document your desired name and click the Save the file name button.
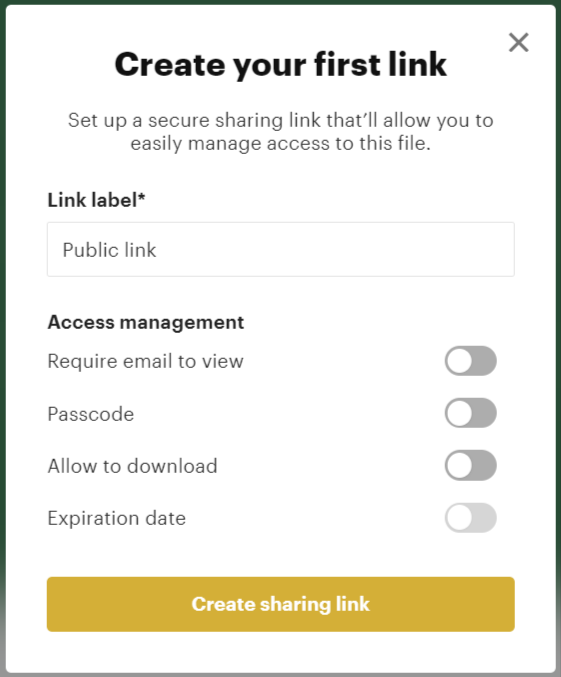
- Create your link by choosing a link name and toggling the options you wish to customize your file-sharing settings. You can choose to require an e-mail to view, restrict access with a passcode, allow download, and set an expiration date for the file.
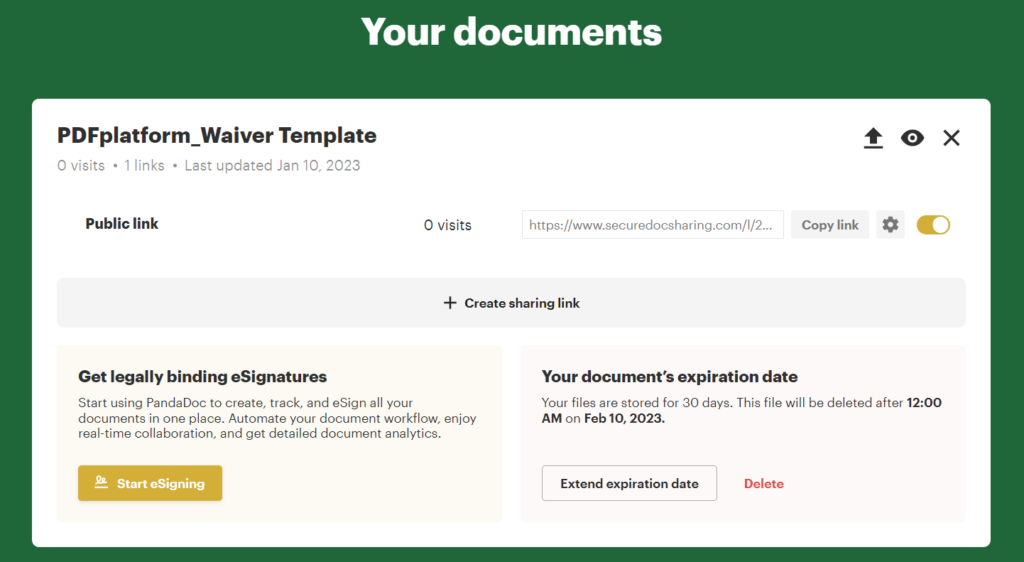
- After the link has been created, it will be automatically copied to your clipboard, so you can send it to your recipient(s). You can also create additional file-sharing links or modify access in Your documents.
Final Thoughts
Public file sharing on your PC can cause security issues and expose your files to potential hackers, which may compromise your and your business’s confidential information. Learning how to prevent file sharing on PC can help you keep your files secure.
You can also use these solutions to ensure that file sharing is not currently enabled on your PC. For situations when you wish to securely share files, you can use a free solution like SecureDocSharing to easily encrypt your files for additional security. Secure Your Files with SecureDocSharing today!