With over 500 million active users, Outlook is one of the most popular email services on the market. Securely sharing your documents with people within and without your organization is crucial to ensure that cybercriminals don’t get their hands on your sensitive information.
In this article, we’ll teach you how to set up secure file sharing in Outlook, how to send secure files via Outlook and answer a few other questions you might have.
If you want to set up secure file sharing for your Microsoft Outlook account, here are a few easy steps you need to follow:
Step 1: Access your account
Launch Outlook on your browser or native app, and log in with your account details.
Step 2: Open options
To open up the Outlook menu, navigate to the “File tab” on your interface, then click on “Options.”
Step 3: Email security
Select the “Trust Center” option and navigate to “Digital ID.”
Step 4: Add your S/MIME certificate
Choose “Import/Export” from the menu. Then, go through the walkthrough on Outlook that helps you add your S/MIME certificate.
Step 5: Save settings
On the “Encrypted email” section of the menu,
- Select “Settings”
- Select “Choose option”
- Click on the S/MIME certificate that you added in the previous step.
Step 6: Send emails
You can now send emails and file attachments securely through your Microsoft Outlook account. Any replies from the recipient will also be encrypted automatically.
How to Securely Share Files Using SecureDocSharing?
SecureDocSharing is the safest and easiest way to send sensitive documents online. In fact, you can go through the whole process in just three easy steps:
Step 1. Upload files
Simply drag and drop the files into the SecureDocSharing upload box or click “Select file” to choose a document from your local device storage. PDF, Microsoft Word, JPG, PNG, and PowerPoint formats are all supported as long as your file does not exceed 10 MB.

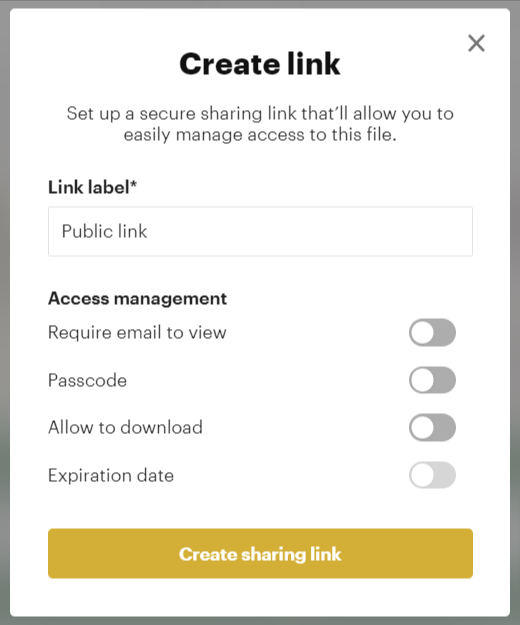
Step 2. Adjust sharing settings
Tune the sharing permissions of your document by adding password protection, disabling file downloads, or revoking access at any time.
Step 3. Send document
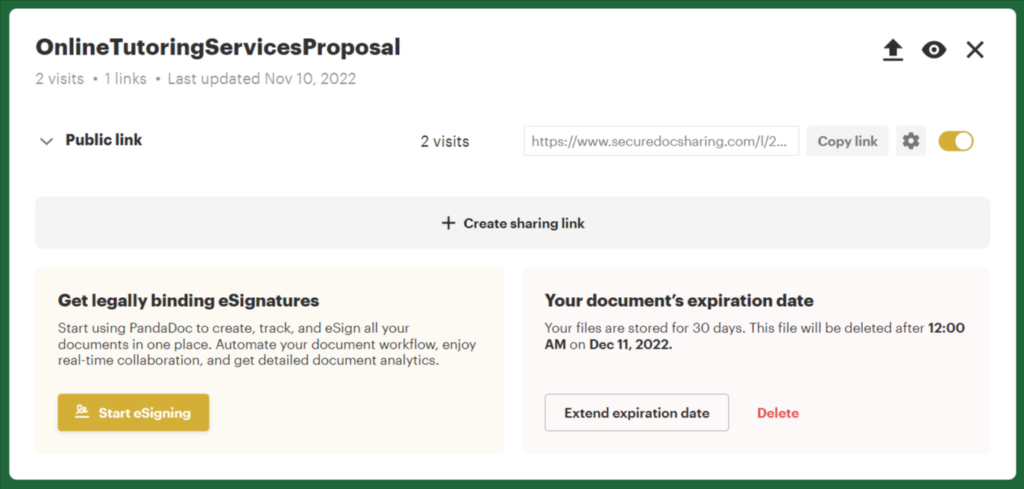
Once you’re happy with the settings, copy the secure sharing link and send it to recipients through email, messaging, or other methods. You can also opt to send the share link and password through two different platforms to maximize security.
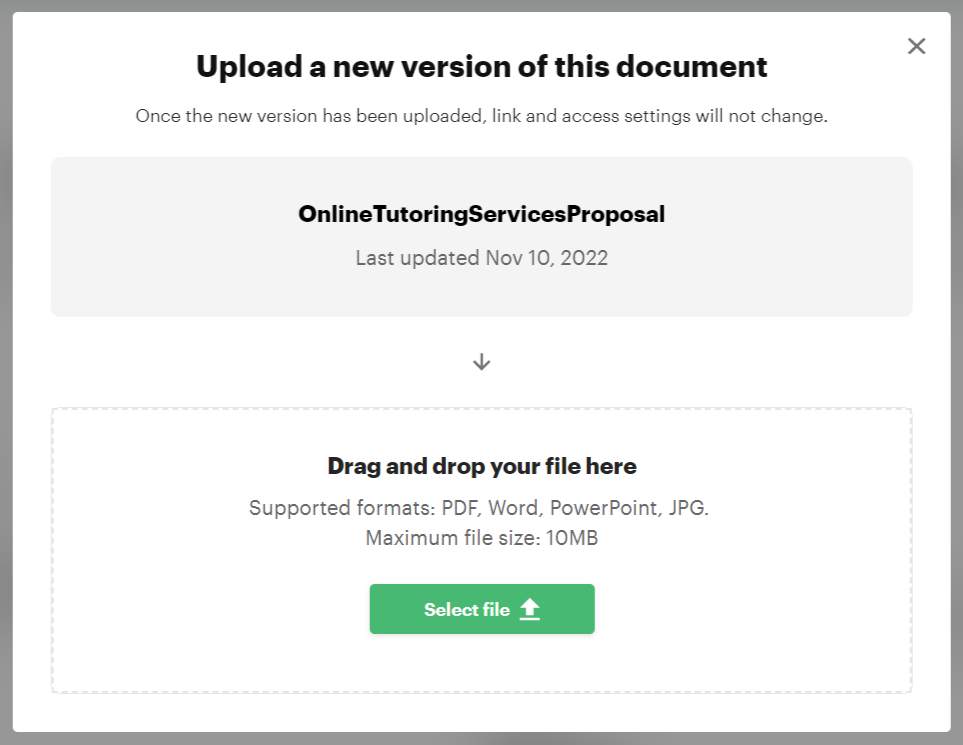
Step 4. Update documents (optional)
If you need to make updates to a document after you’ve already sent it out, you can always re-upload your file. The new version will automatically be synced with the same secure sharing link you used previously.
Step 5. View analytics (optional)
SecureDocSharing’s analytics will show you who is viewing your file, how much time they spend on each page of the document, and other data that can help you strategically approach your recipients.
Final Thoughts
As you can see, securing your Outlook conversations is quite easy once you’ve acquired your S/MIME certificate. You’ll have a secured email account in no time if you follow the steps outlined in this article and Outlook’s interface. If you want to level up your data protection efforts, simply click here to secure your files with SecureDocSharing.
FAQs
-
Yes, Microsoft enables secure file sharing with OneDrive. You can share files through OneDrive, where every file you upload will be encrypted with a unique AES256 key that is then securely stored in the Azure Key Vault.
-
OneDrive lets you share files through Outlook. You can share files from OneDrive with Outlook users by creating a share link and sending it to them via email.
-
Set up secure file sharing in your Outlook account or lock your files with a password before you send them. Adding password protection to your document stops someone from viewing or editing it without first entering the password.
-
Yes, you can send an encrypted email with Outlook. When composing a message in Outlook, simply click the “Encrypt” button next to “Attach,” then select either “Encrypt” or “Encrypt and Prevent Forwarding,” depending on your needs.